This is another fun project in the trading bot series. Last week, we learned about the trading bot and how to install a Gekko Trading Bot. I hope this tutorial will be helpful for those interested in experimenting with another cryptocurrency trading bot.
What is Zenbot?
Zenbot is a bot that uses Node.js and MongoDB for the crypto-currency command-line exchange. It has the following features: A completely automated trading strategy based on technical research. Additional exchange assistance is currently being offered with the full support of Binance, Bitfinex, Bittrex, etc. and with many other major exchanges. Plugin architecture for the application of exchange assistance or writing of new strategies. Simulator for back-testing techniques against historical data. "Paper" trading mode, works on a virtual scale when observing the live market. Configurable sale stops, buying stops, and (trailing) advantage stops. Flexible sampling time and exchange frequency-average 1-2 trades/day for 1 hour period, 15-50 / day for 5 m period .

Installation
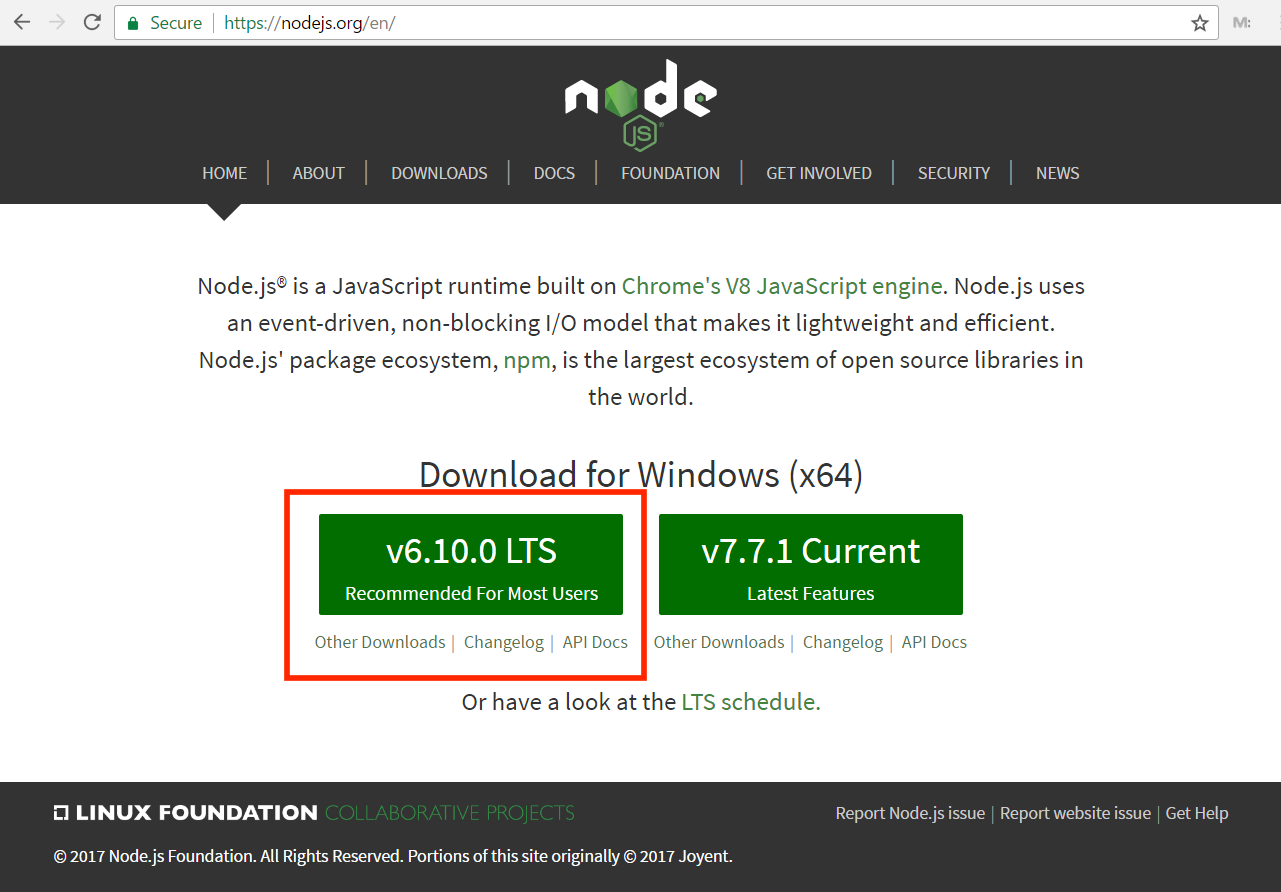
Step 1: Installing Nodejs
Zenbot runs on nodejs so we have to install that first. Go to the nodejs homepage and install the LTS version of nodejs.
Go to this link => Nodejs
Step 2: Installing MongoDB
Setup MongoDB by downloading it from the official website. Go to this link => MongoDB

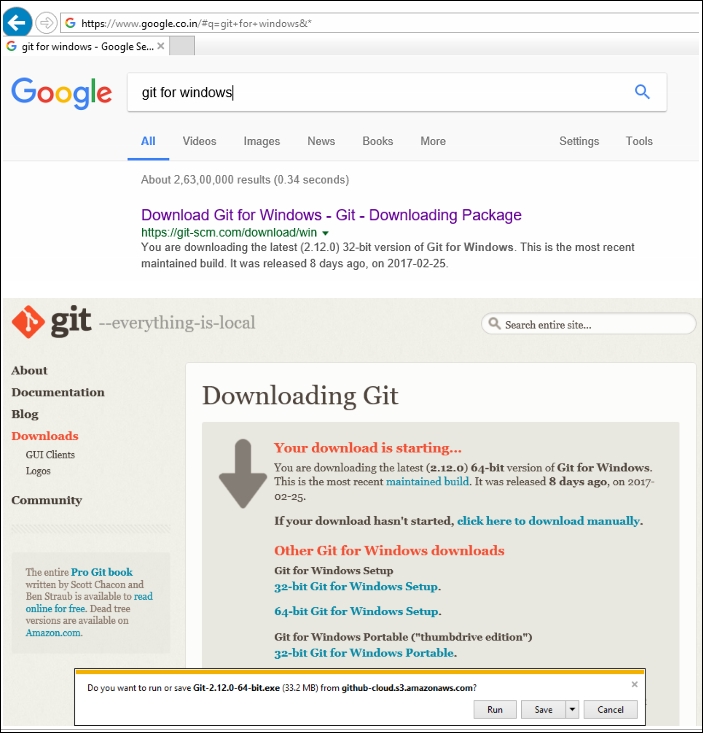
Step 3: Installing Git
As part of the Zenbot installation process, git is used. Go to the git homepage. Go to this link => Git and install as per your operating system (Linux, windows, mac).
Step 4: Installing Zenbot
The preferred way to download Zenbot is by using git. This makes it a lot easier to keep Zenbot up to date.
In the terminal ; Run the code written below =>
git clone https://github.com/deviavir/zenbot.git
Create your configuration file by copying ;
In the terminal ; Run the code written below =>
cp conf-sample.js conf.js
Step 4: Installing Zenbot's dependencies
You need to instal the dependencies once you've downloaded Gekko, open your terminal and navigate to the gekko folder.
In the terminal ; Run the code written below =>
cd zenbot
npm install
# optional, installs the `zenbot.sh` binary in /usr/local/bin:
npm link
Procedure
Step 1: Selectors
It's a short identifier informing Zenbot which currency pair and exchange is working.
Written as
{exchange_slug}.{asset}-{currency}
Step 2: Backfilling
Backfilling data involves inserting lost past data to make a map complete without any voids and to keep all calculations running.
For backfilling of data , use:
zenbot backfill <selector> --days <days>
Step 3: Simulation
Simulation is an abstract imitation of the operation of a mechanism or system; it reflects its operation over time.
After you've backfilled, you can run a simulation:
zenbot sim <selector> [options]
Step 4: Result
The Zenbot generates an HTML graph for each simulation outcome. In the screenshot below, the pink arrows depict the bot purchasing (up arrow) and sale (down arrow) as it depicts the historical details of the GDAX exchange BTC / USD product.

Step 5: Running Zenbot
Now it's time to run it.
In the terminal ; Run the code written below =>
# to run 'paper mode' - only simulation and no real money

./zenbot.sh trade --paper

# to run 'default mode' - no simulation and real money

./zenbot.sh trade

# to run 'tweaked setting mode' - no simulation, real money and tweaked for optimal return

./zenbot.sh trade --profit_stop_enable_pct=10 --profit_stop_pct=4 --trend_ema=36 --sell_rate=-0.006
I hope you have fun with this trading bot. As a reminder, this article is for understanding the process of installation only and not a financial advice.
Resources: GitHub
Disclaimer: The information contained on this web page is for education purpose only. Readers are suggested to conduct their own research, review, analyze and verify the content before relying on them.
To publish press releases, project updates and guest posts with us, please email at contact@etherworld.co.
Subscribe to EtherWorld YouTube channel for easy digestable content.
Support us at Gitcoin
You've something to share with the blockchain community, join us on Discord!