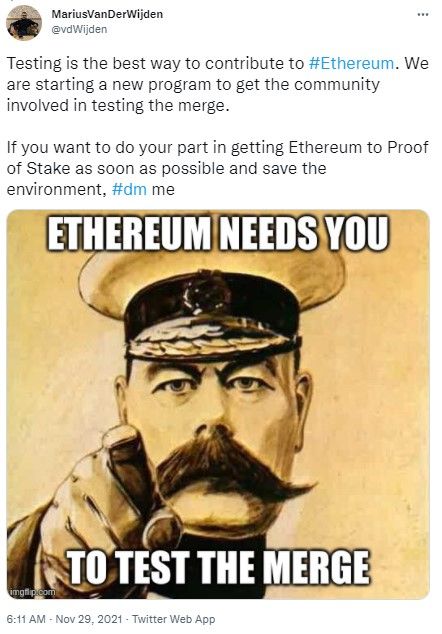
The Kintsugi testnet is now live! Kintsugi specs and milestones were released earlier this month. #TestingTheMerge is a Ethereum Community Initiative started by Marius van der Wijden and Parithosh Jayanthi to test The Merge. This guide is an attempt to demonstrate the steps explained to how to setup your machine to join the Kintsugi testnet here.
| Table of Contents |
|---|
| 1. How to Connect to Kintsugi with Metamask? {Method 1} |
| 2. How to Connect to Kintsugi with Metamask? {Method 2} |
| 3. How to Get Funds from the Faucet? |
| 4. How to Do a Transaction in Kintsugi Testnet? |
If you prefer watching a video
What does Kintsugi mean?
Kintsugi is the Japanese art of repairing broken pottery by mending the areas of breakage with lacquer dusted or mixed with powdered gold, silver, or platinum. As a philosophy, it treats breakage and repair as part of the history of an object, rather than something to disguise.
How to Connect to Kintsugi with Metamask? {Method 1}
In this section we will see the first method to connect Kintsugi with Metamask.
- Step 1: Go to https://kintsugi.themerge.dev/.

- Step 2: Click on
Add network to Metamask.

- Step 3: A notification will pop-up.

- Step 4: Click on
Approve.

- Step 5: Click on
Switch Network.

- Step 6: Now Go to
Metamask, Click onNetworksto check ifKintsugiis added or not. In the image below, we can see thatKintsugiis added.

How to Connect to Kintsugi with Metamask? {Method 2}
In this section we will see the second method to connect Kintsugi with Metamask.
- Step 1: Go to
Metamask. Click onNetworks.

- Step 2: Click on
Add Network.

- Step 3: A notification will pop-up.

- Step 4: According to HackMD file. We have put the following parameters.
- Name: kintsugi
- RPC-URL: http://127.0.0.1:8545
- Chain-ID: 1337702
- Step 5: But if we add this and Click on
Save. We will get an errorCould not fetch chain ID. Is your RPC URL correct?In the image below, we can see this error.

- Step 6: Now if we go to https://kintsugi.themerge.dev/. We can find all the URLs. In our case, correct URL is JSON RPC: https://rpc.kintsugi.themerge.dev/.

- Step 7: Now we will change the New RPC URL from http://127.0.0.1:8545 to https://rpc.kintsugi.themerge.dev/. Click on
Save.

- Step 8: A notification will pop-up.

- Step 9: Now Go to
Metamask, Click onNetworksto check ifKintsugiis added or not. In the image below, we can see thatKintsugiis added.

How to Get Funds from the Faucet?
In this section we will see how to get funds from faucet.
- Step 1: Go to https://faucet.kintsugi.themerge.dev/.

- Step 2: Enter the address to receive funds. Click on
Request 50 Testnet ETH. Disclaimer: Don’t use mainnet address on a testnet.

- Step 3: Some people have seen
Internal Server Errorafter 2nd step.

- Step 4: To solve the above error, verify Captcha at the bottom of the page.

- Step 6: Now, Enter the address to receive funds. Click on
Request 50 Testnet ETH. We will see a screen loading for 2-3 seconds.

- Step 7: Our Transaction is successful and funds are transferred.

- Step 8: We can see our funds in the Metamask.

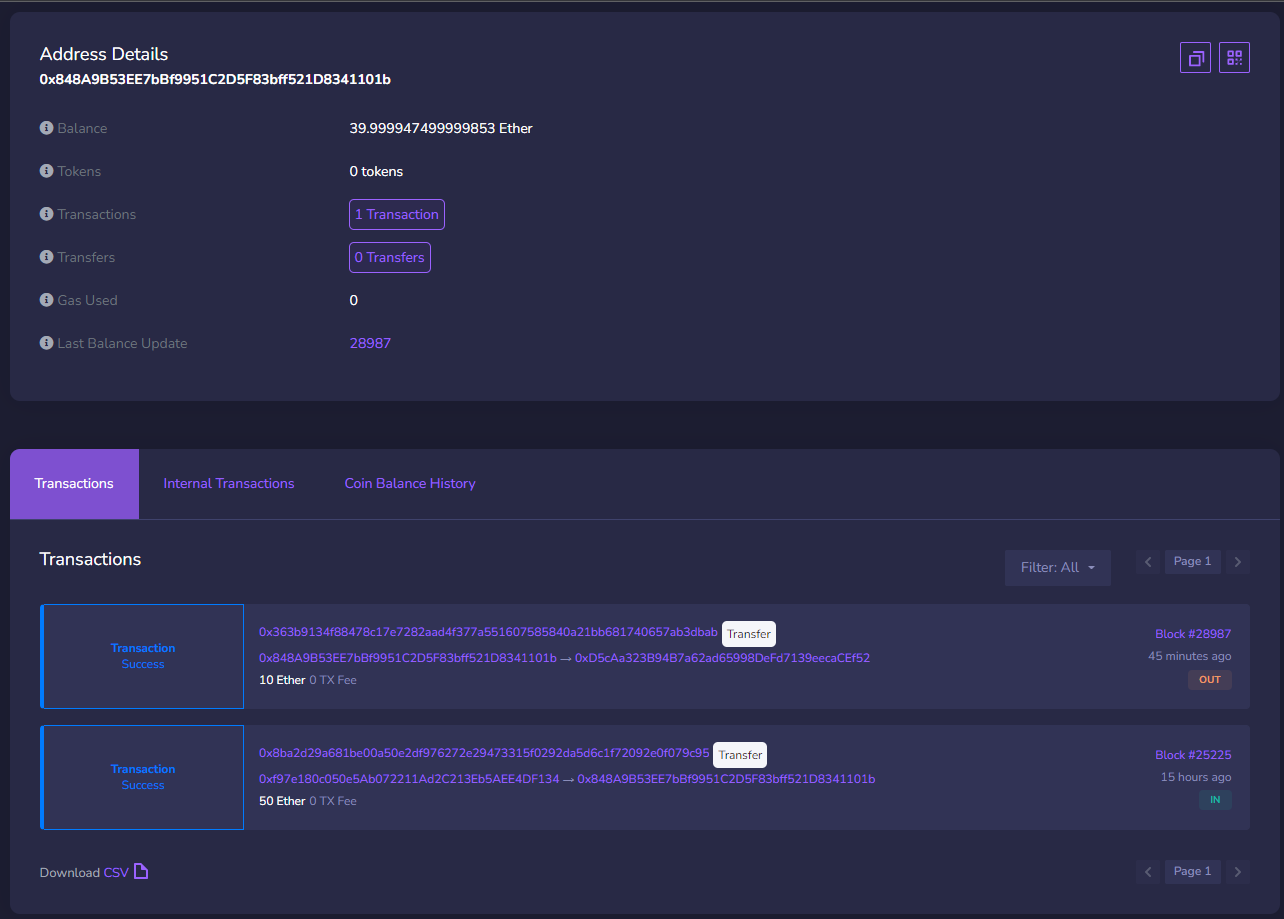
- Step 9: We can see our transaction in the Transaction Explorer. Here is the link to our transaction.

How to Do a Transaction in Kintsugi Testnet??
In this section we will transfer some ETH from Account 1(0x848A9B53EE7bBf9951C2D5F83bff521D8341101b) to Account 2(0xD5cAa323B94B7a62ad65998DeFd7139eecaCEf52) in Kintsugi Testnet. Here we have 50ETH from the faucet in Account 1 which he have transferred in the last section.
- Step 1: Go to the Metamask Wallet.

- Step 2: Click on
Send.

- Step 3: Now Copy the Address of Account 2 and Paste.

- Step 4: After pasting address. We will see this on the screen.

- Step 5: Now we can transfer any amount we want from the available assets. Here we will transfer 10 ETH.

- Step 6: Click on
Next.

- Step 7: Now we will see the estimated gas fees.

- Step 8: Click on
Confirm.

- Step 9: It will take 2-3 seconds to transfer.

- Step 10: We can see our funds in the Metamask are deducted.

- Step 11: We can see our transaction in the Transaction Explorer. Here is the link to our transaction.

- Step 12: Account 2 (0xD5cAa323B94B7a62ad65998DeFd7139eecaCEf52) has also received the funds.

- Step 13: We can also see transaction details of Account 2 in the Transaction Explorer. Here is the link to transaction.

- Step 14: Here is the link of our final transaction.
Join the Kintsugi Testnet today!
Useful resources
- Kintsugi testnet version information
- Connect to the Kintsugi Testnet
- Send a transaction over metamask
- Test ETH faucet
- Test explorer
- Kintsugi specs
- Milestones
Other Reads
- An overview of expected changes with the Ethereum Merge upgrade
- Ethereum 2.0 Basic Terminology
- All About The Validator In Ethereum 2.0 Beacon Chain
- How To Become An Eth2 Validator On Teku
- How To Become An Eth2 Validator on Nimbus with Hyperledger Besu
- Ethereum's roadmap for 2022 and beyond!
- Ethereum Layer 2 projects: An Overview
- All you need to know about Altair: The Beacon Chain Upgrade
- Insight of Ethereum Arrow Glacier Network Upgrade
Cover Image Source: Austin Kleon
________________________________________________________Disclaimer: The information contained on this web page is for education purpose only. Readers are suggested to conduct their own research, review, analyze and verify the content before relying on them.
To publish press releases, project updates and guest posts with us, please email at contact@etherworld.co.
Subscribe to EtherWorld YouTube channel for easy digestable content.
Support us at Gitcoin
You've something to share with the blockchain community, join us on Discord!
